Diagram
The Diagram feature in erm4sn enables users to create, manage, and download UML (XMI) diagrams. These diagrams are essential for visualizing, designing, and planning schema changes, and they can be exported for use in tools like Enterprise Architect.
Seamless Integration with Enterprise Architect
The XMI files generated by erm4sn are designed for easy import into Enterprise Architect, enabling advanced schema editing and collaborative design. This integration simplifies the process of planning and documenting schema changes. The XMI files can be found within the diagram zip file you download.
Safe Merge Imports: Improved XMI support enables safe merge imports into Sparx EA without overwriting your manual annotations. You can repeatedly import updated schemas while preserving any notes, tags, or customizations you've added in Enterprise Architect.
Listing
The Diagram Listing page provides an overview of all available diagrams.
- Modify a Diagram: Click on the diagram name to edit its details or structure.
- Download a Diagram: Click on the version name to download the diagram in ZIP format containing XMI files.
- Add a New Diagram: Use the New button to create a new diagram.
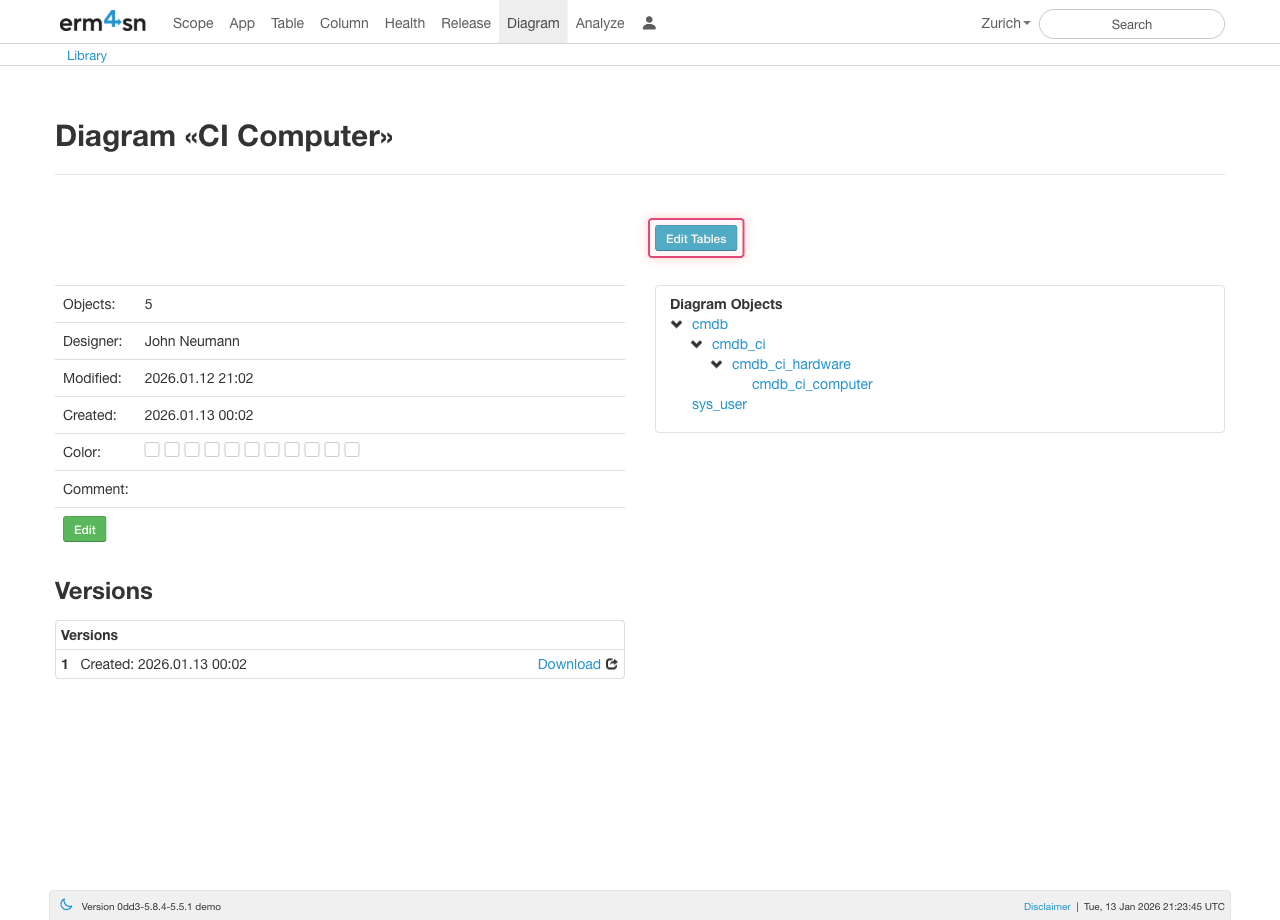
Diagram Detail View
Click on a diagram name in the listing to open its detail view.
- Diagram Details Panel: Displays metadata for the diagram, including the name, designer, comments, and selected color theme.
- Objects Panel: Lists the tables and elements currently included in the diagram.
- Versions: Shows available versions of the diagram and provides download links for the XMI files as ZIP format.
Use the Add Objects button to include additional tables in the diagram.
Add or Modify a Diagram
To create or update a diagram, follow these steps:
-
Enter the Diagram Name
- Provide a descriptive name for the diagram that reflects its purpose or scope (e.g., "Customer Data Model").
-
Specify the Designer
- Enter the name of the person creating or responsible for the diagram. This helps track ownership and accountability.
-
Add Comments (Optional)
- Include additional notes or context for the diagram, such as its intended use or specific focus areas.
-
Choose a Color Theme
- Select a visual theme for the diagram to maintain consistency or align with organizational standards.
-
Save the Diagram
- Once all fields are complete, click Save to store the diagram.
-
Delete a Diagram (if needed)
- To remove a diagram, click Delete and confirm the action.
Diagram Objects
Adding and Removing Objects
-
Enable Diagram Editing
- Open a diagram and click Add Objects. A red book icon will appear in the navigation bar, indicating the diagram is in edit mode.

- Open a diagram and click Add Objects. A red book icon will appear in the navigation bar, indicating the diagram is in edit mode.
-
Add Tables from Any View
-
Navigate to any table view (listing or detail). Hover over the table name, and a + icon will appear. Click the icon to add the table to the open diagram.
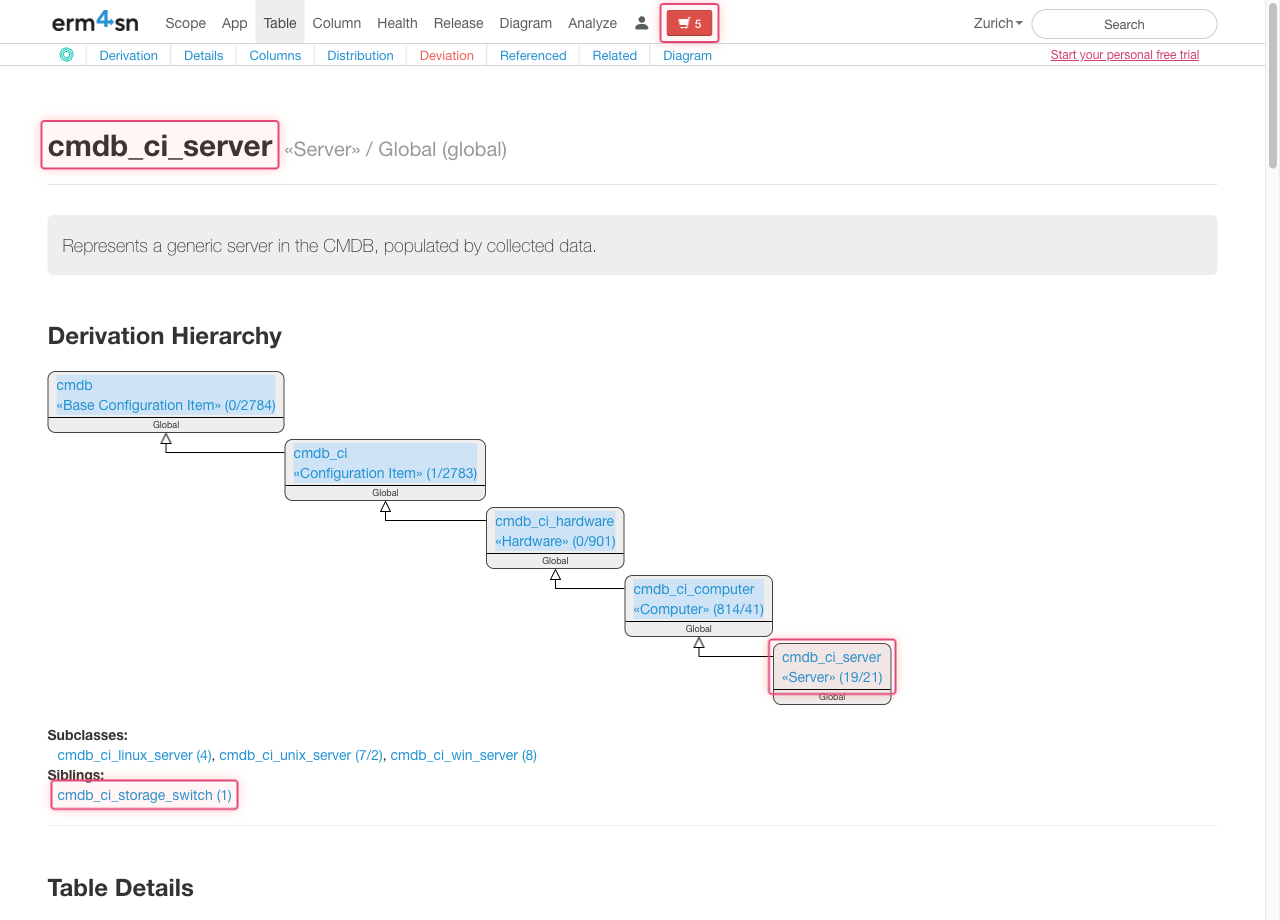
-
In the Table Listing Tree, hover over the + icon of a table with extensions. An arrow icon will appear, allowing you to add all extending tables to the diagram in one go.

-
-
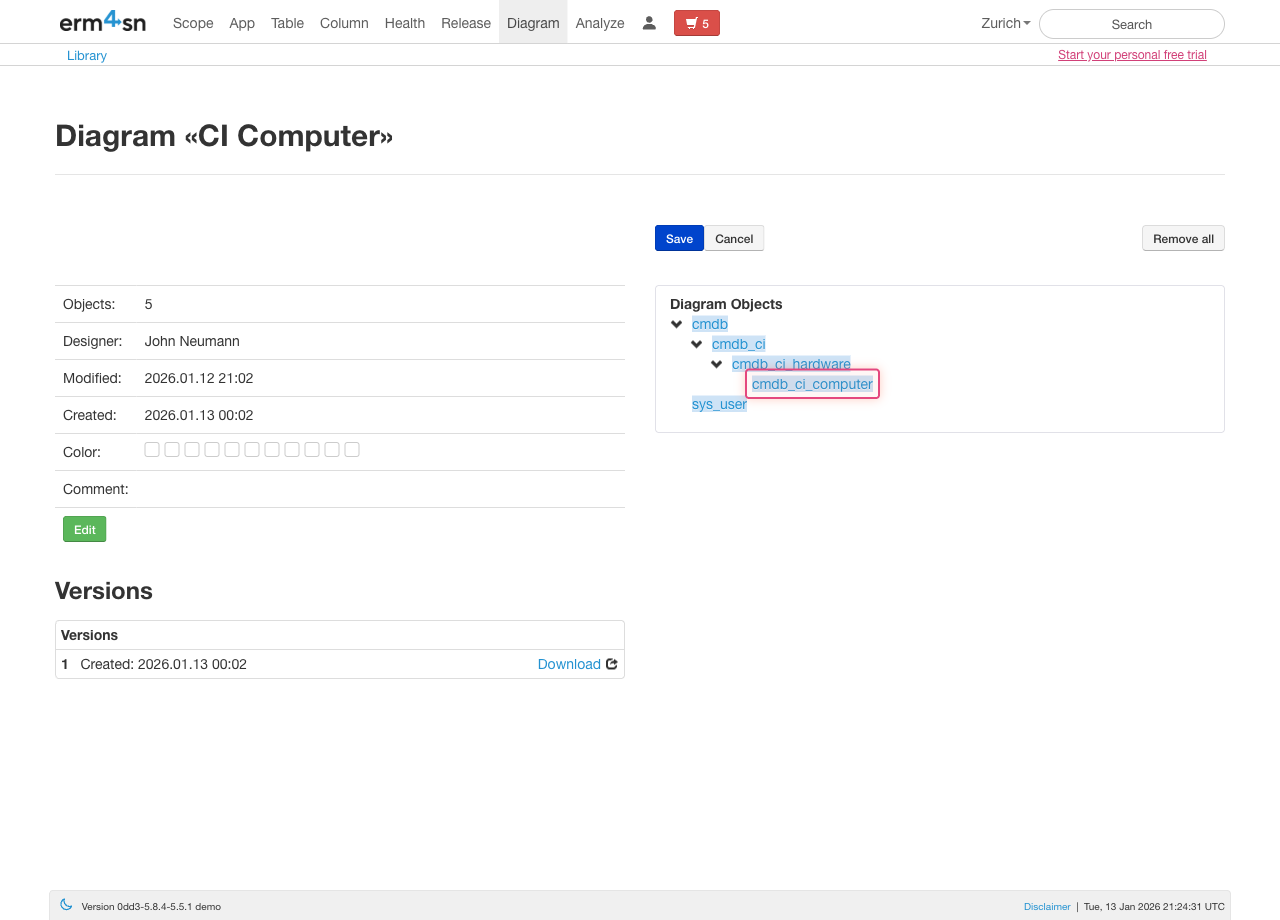
Remove Tables from the Diagram
- Hover over a table in the Objects Panel. A minus icon will appear next to the table name. Click it to remove the table from the diagram.
- Hover over a table in the Objects Panel. A minus icon will appear next to the table name. Click it to remove the table from the diagram.
-
Return to the Diagram View
- Once you've added or removed objects, click the red book icon in the navigation bar to return to the diagram view. Click save to apply your changes. erm4sn will immediately update the diagram to reflect your modifications and you'll find it availle as a new version in the Versions panel.